Customized mask
In the Quick start tutorial, you have shown how to generate AI fashion model with auto generated mask. In this tutorial, you will learn how to generate AI fashion model with customized mask.
Let's say you have an image of a female model and you just want to keep the skirt during the model generation process as shown below.
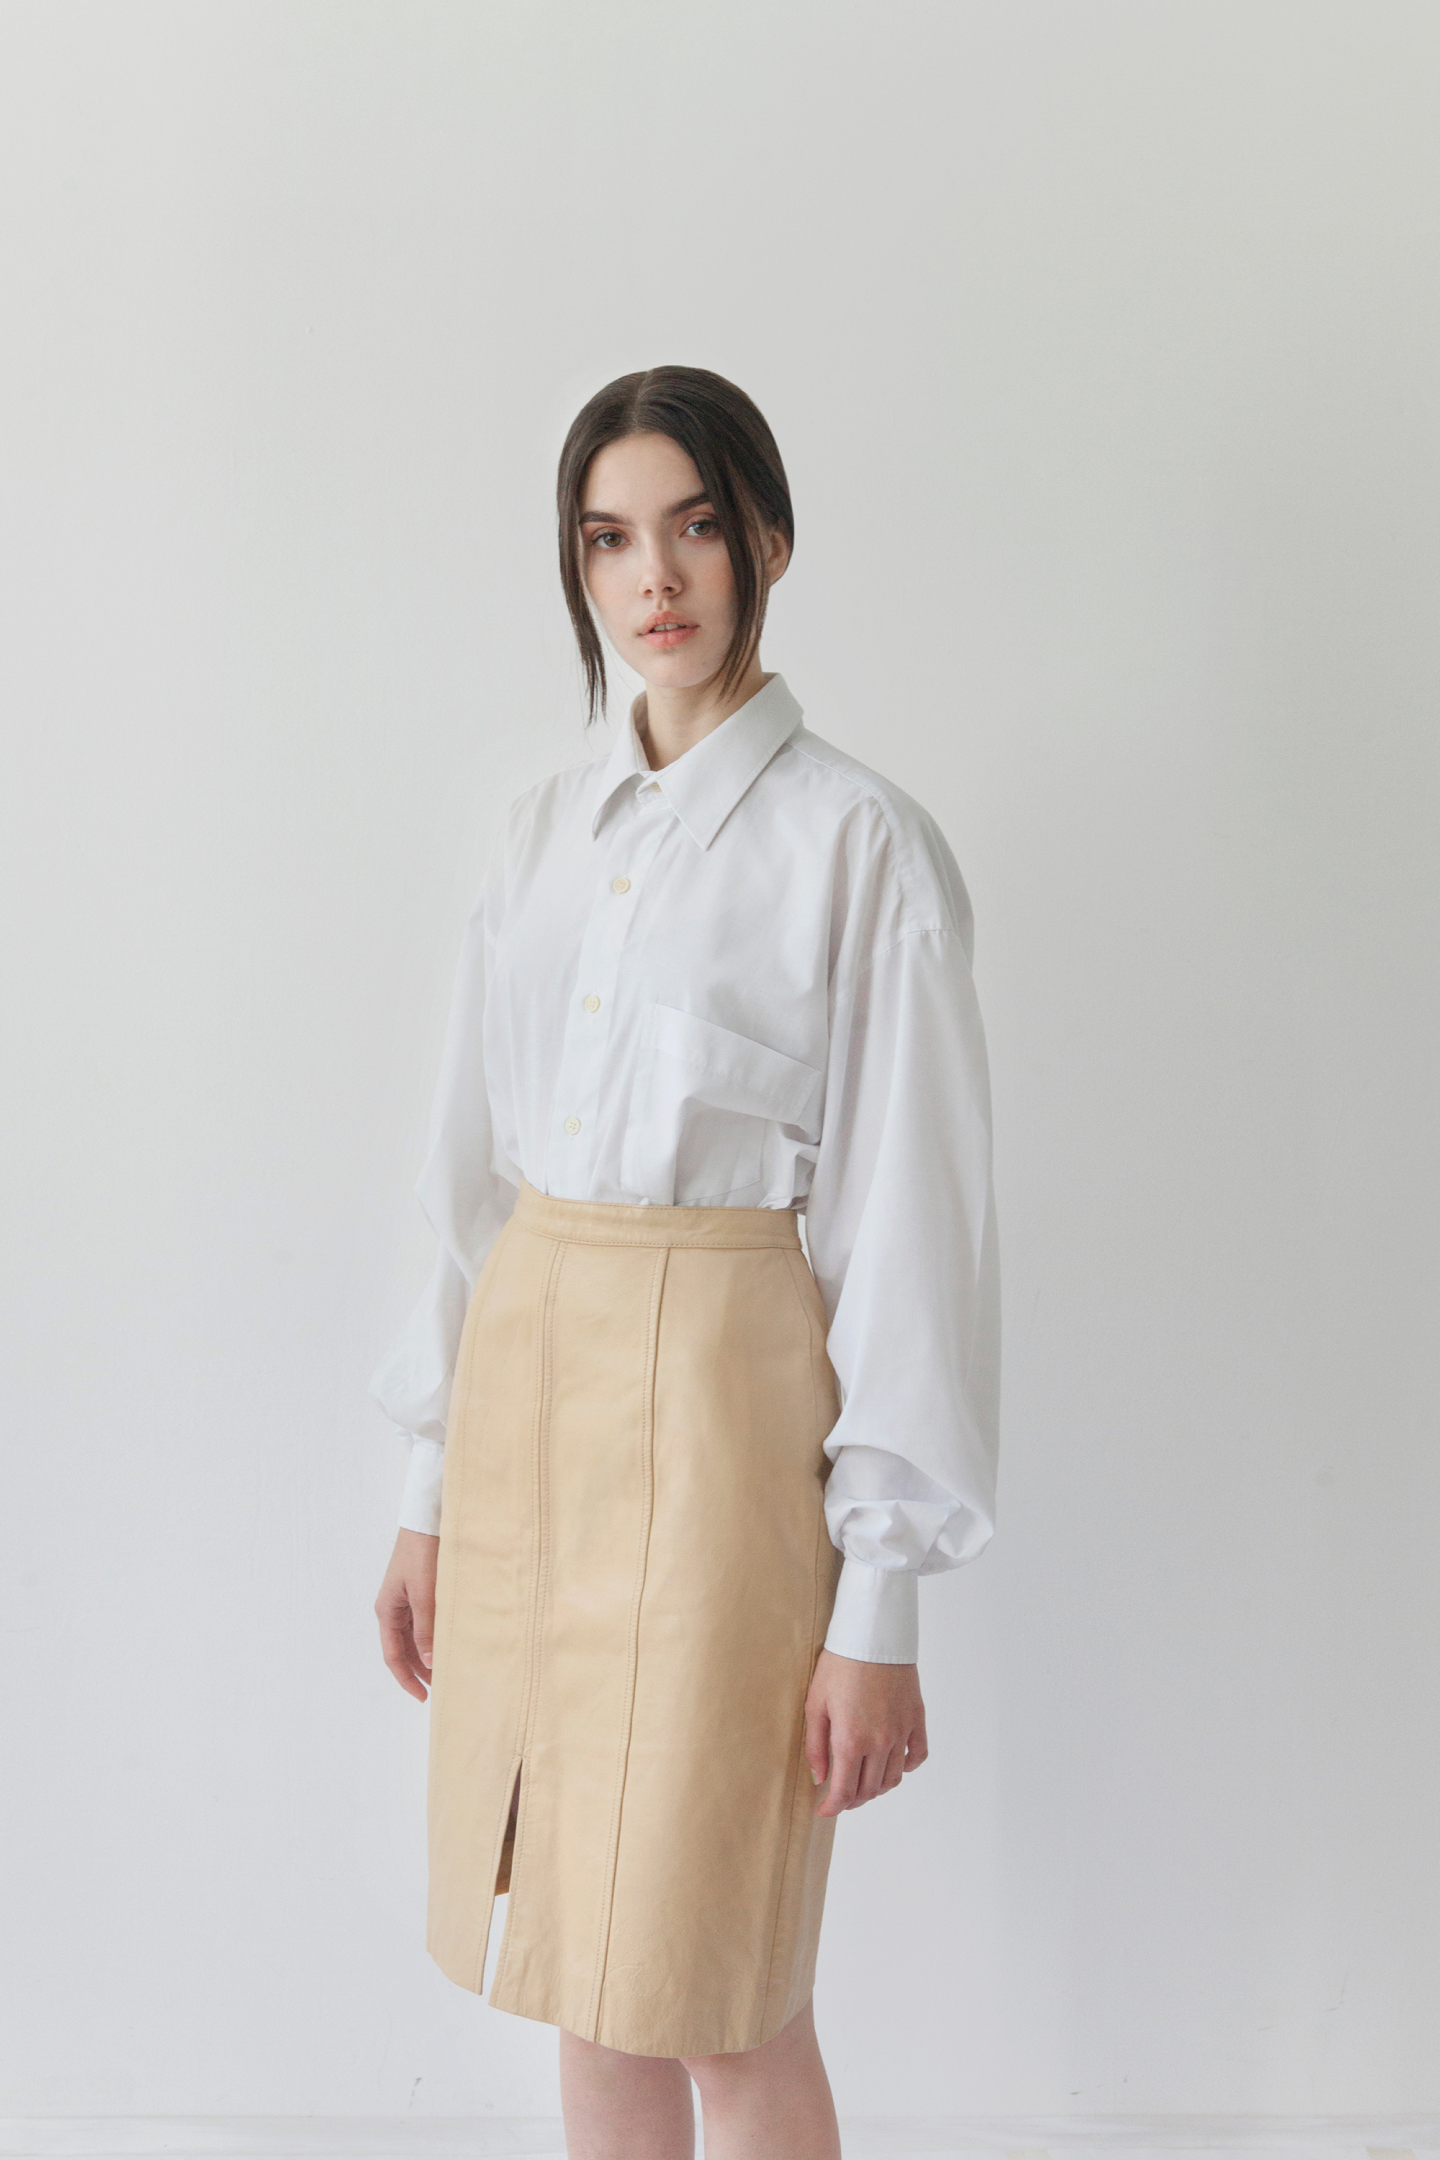
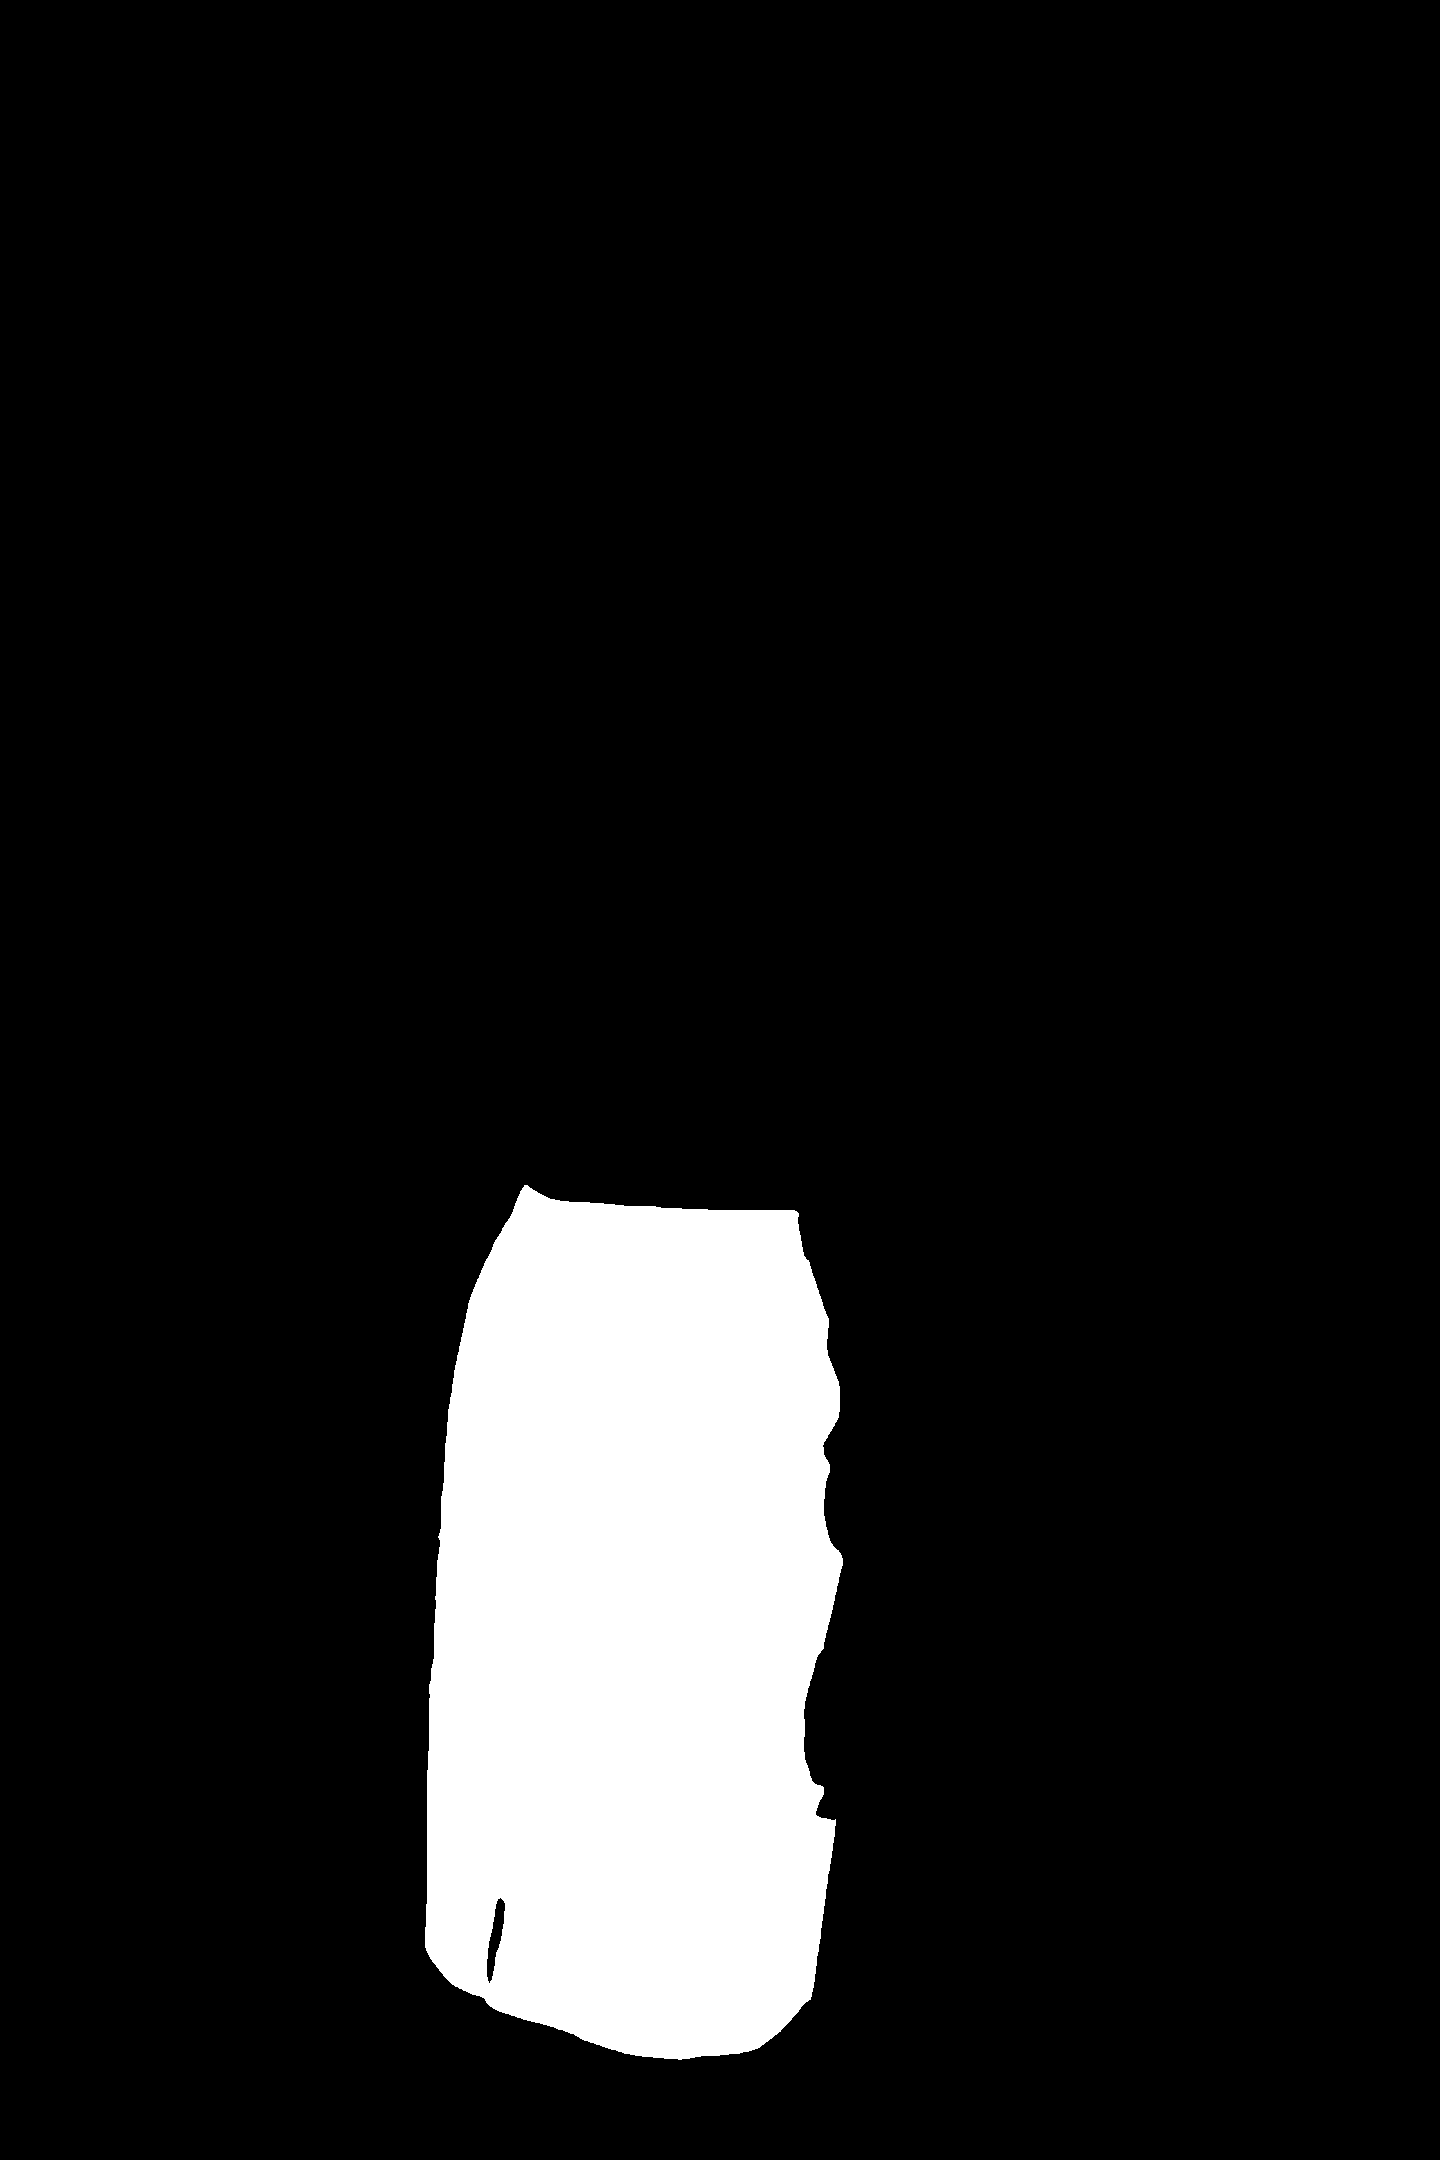
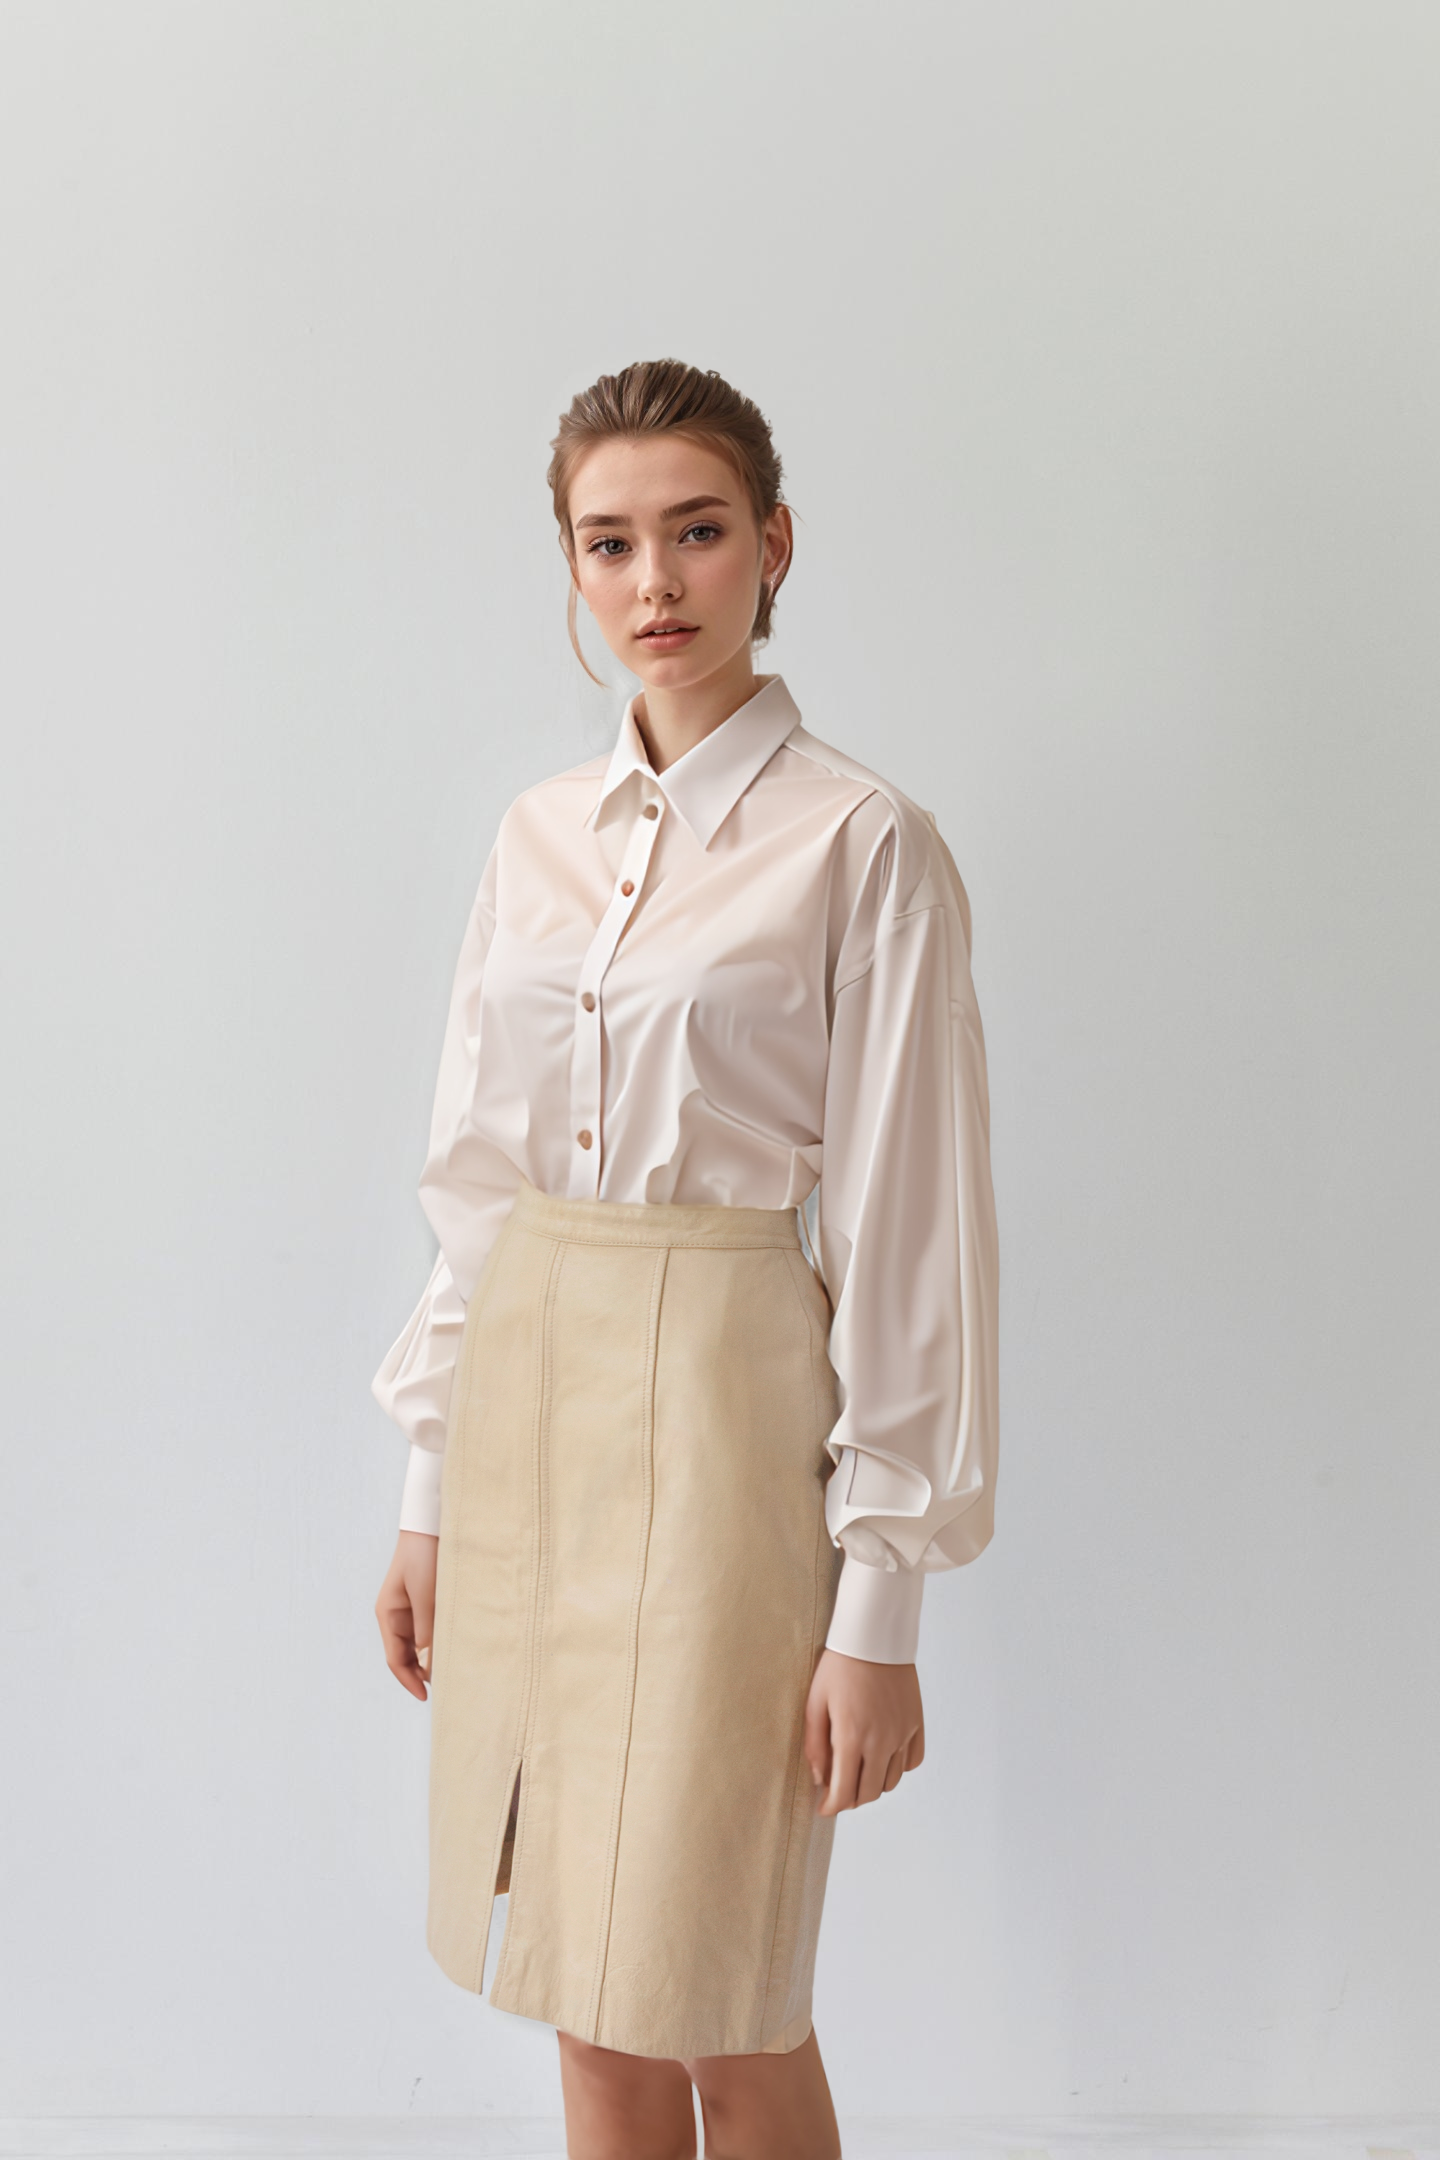
Now, let's see how to generate AI fashion model with customized mask.
Prepare the mask
In this tutorial, you will use the Segment Clothes API to generate the mask for the skirt. The Segment Clothes API is a powerful tool that can be used to generate masks for clothes in images. It's currently supports the following types of mask:
- Tagged mask: This type of mask contains only the target areas associated with a specified tag. For example, a mask with the coat tag will solely contain the coat areas.
- Unified mask: This type of mask merges target areas into one mask, representing them using a specified color model. For example, a mask featuring the white color model will depict all target areas in white.
To generate the mask for the skirt, you will use the Segment Clothes API to genereate a unified mask with the tag skirt. The request body for the Segment Clothes API
is shown below:
{
    "image": "https://x-design-release.stariidata.com/poster/d8f92d37a0569bd6c3a7f27e2882fd74.png",
            "maskDataType": "url"

  }
Let's make a POST request to the Segment Clothes API with the above request body in different programming languages.
curl -X POST \
     -H "X-Api-Key: YOUR_API_KEY" \
     -H "Content-Type: application/json" \
     -d '{
        "image": "https://x-design-release.stariidata.com/poster/d8f92d37a0569bd6c3a7f27e2882fd74.png",
        "maskDataType": "url"

    }' \
     https://open.x-design.com/api/v2/image/clothes-segmentation
The API will return the response body as shown below:
{
  "code": 0,
  "message": "Success",
  "data": {
    "unifiedMasks": {
      "tags": [
        "background",
        "coat",
        "skirt",
        "skin",
        "face",
        "hair"
      ],
      "mask": "https://oss.vl.starii.com/mtopen%2F965d48d1b7364ca0b7f4c8ee67ebd496%2FMTc0NTcyMjgwMA%3D%3D%2F12f877f0-1fa3-40ab-8eb2-cf603757c90b.jpg?Expires=1753500628\u0026OSSAccessKeyId=LTAI5tNuReB1F1x6iVYtEzHn\u0026Signature=jFr70KntHrOD%2FFWhz%2B%2FN2O6NhCA%3D"
    },
    "taggedMasks": [
      {
        "tag": "background",
        "mask": "https://oss.vl.starii.com/mtopen%2F965d48d1b7364ca0b7f4c8ee67ebd496%2FMTc0NTcyMjgwMA%3D%3D%2F75d1dc7a-53a4-4f9d-ada4-edaa25ce5737.jpg?Expires=1753500628\u0026OSSAccessKeyId=LTAI5tNuReB1F1x6iVYtEzHn\u0026Signature=%2BhiQExfxFPFof%2F%2BYiTiMvQReLMY%3D"
      },
      {
        "tag": "coat",
        "mask": "https://oss.vl.starii.com/mtopen%2F965d48d1b7364ca0b7f4c8ee67ebd496%2FMTc0NTcyMjgwMA%3D%3D%2Fecdbfa20-65c1-44ed-8991-d6041a063e06.jpg?Expires=1753500628\u0026OSSAccessKeyId=LTAI5tNuReB1F1x6iVYtEzHn\u0026Signature=%2FTtSDh%2BKswLUrAbmj1ZFhjh70ME%3D"
      },
      {
        "tag": "skirt",
        "mask": "https://oss.vl.starii.com/mtopen%2F965d48d1b7364ca0b7f4c8ee67ebd496%2FMTc0NTcyMjgwMA%3D%3D%2F1589614a-4cb8-4a6b-94ce-279fe90e3816.jpg?Expires=1753500628\u0026OSSAccessKeyId=LTAI5tNuReB1F1x6iVYtEzHn\u0026Signature=nbXphK9fE8hMuV42LHYivSakoKY%3D"
      },
      {
        "tag": "skin",
        "mask": "https://oss.vl.starii.com/mtopen%2F965d48d1b7364ca0b7f4c8ee67ebd496%2FMTc0NTcyMjgwMA%3D%3D%2F5c621625-bec0-4a12-948f-b5e2d8ec3026.jpg?Expires=1753500628\u0026OSSAccessKeyId=LTAI5tNuReB1F1x6iVYtEzHn\u0026Signature=yNr3QMKSkGjqnx9K1tFEEoD4I5A%3D"
      },
      {
        "tag": "face",
        "mask": "https://oss.vl.starii.com/mtopen%2F965d48d1b7364ca0b7f4c8ee67ebd496%2FMTc0NTcyMjgwMA%3D%3D%2Fbf832144-5800-45c3-a535-99b67563bc0a.jpg?Expires=1753500628\u0026OSSAccessKeyId=LTAI5tNuReB1F1x6iVYtEzHn\u0026Signature=OwD3Z0tGEwe5zfhMaB2o%2BqA0Jh4%3D"
      },
      {
        "tag": "hair",
        "mask": "https://oss.vl.starii.com/mtopen%2F965d48d1b7364ca0b7f4c8ee67ebd496%2FMTc0NTcyMjgwMA%3D%3D%2F71c1eaff-846b-4ad9-9f7a-64cd12a84839.jpg?Expires=1753500628\u0026OSSAccessKeyId=LTAI5tNuReB1F1x6iVYtEzHn\u0026Signature=fknU%2BAYeMKJNj2hTMzSoy0o2DF8%3D"
      }
    ]
  },
  "req_id": "77e0d661-e4df-41f1-a863-a0318a61ffc0"
}

As you can see, the API has successfully generated the mask for the skirt.
Generate models
Now that you have the mask for the skirt, you can follow the steps described in Quick start to generate model images. The only difference is that you need to modify the request parameters for creating an asynchronous generation task, as shown below:
{
    "image": "https://x-design-release.stariidata.com/poster/d8f92d37a0569bd6c3a7f27e2882fd74.png",
    "mask": "CUSTOM_MASK_URL_RETURNS_BY_SEGMENT_CLOTHES_API",
    "modelId": "002",
    "sceneType": "preset",
    "sceneId": "035"
}mask: The URL of the mask to be used. In this case, it is the URL of the mask for the skirt.
Let's make some changes to the different language implementations in the Quick start tutorial to generate the model with the customized mask.
curl -X POST \
     -H "X-Api-Key: YOUR_API_KEY" \
     -H "Content-Type: application/json" \
     -d '{
            "image": "https://x-design-release.stariidata.com/poster/d8f92d37a0569bd6c3a7f27e2882fd74.png",
            "mask": "CUSTOM_MASK_URL_RETURNS_BY_SEGMENT_CLOTHES_API",
            "modelId": "002",
            "sceneType": "preset",
            "sceneId": "035"
        }' \
     https://open.x-design.com/api/v4/image/ai-fashion-model/clothing-tasks
In the code snippet above, you first create an asynchronous task with specified image URL and mask tag "skirt". Then, you check the task status in fixed intervals until the task is completed. Finally, you print the download URLs of the generated images.
Note: Since AI fashion model generation is a time-consuming process, you may need to wait for a while until the task is completed.
View the results
After the task completed successfully, you can view the generated images by using the download URLs in the results. Below shows the generated images with different scenes.

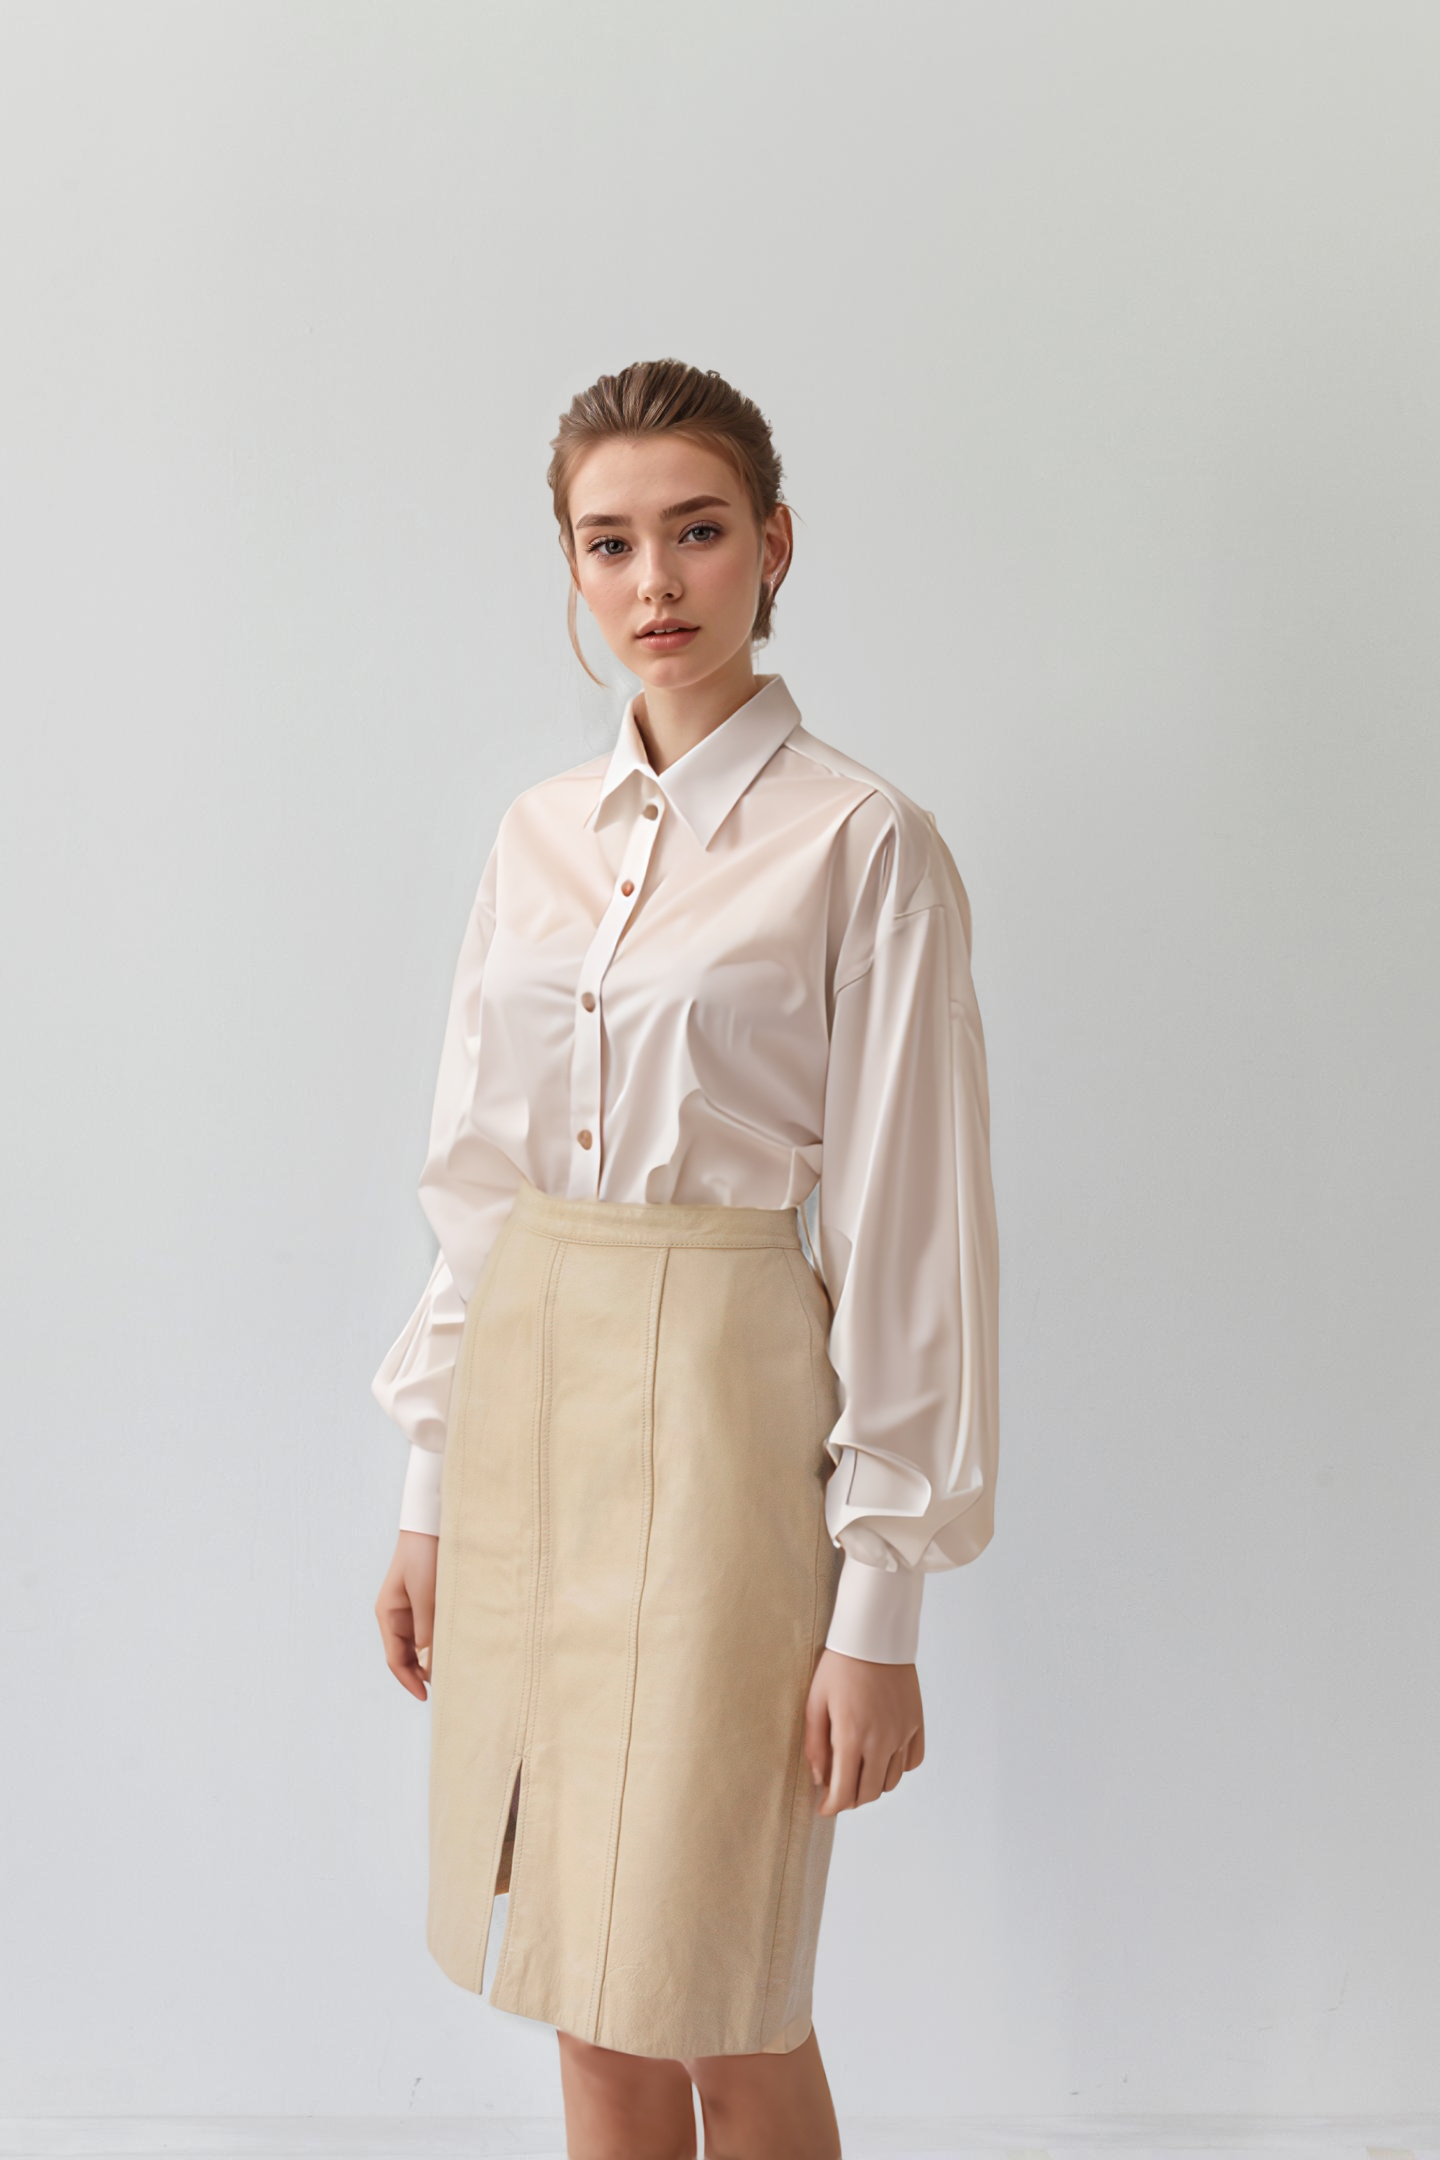
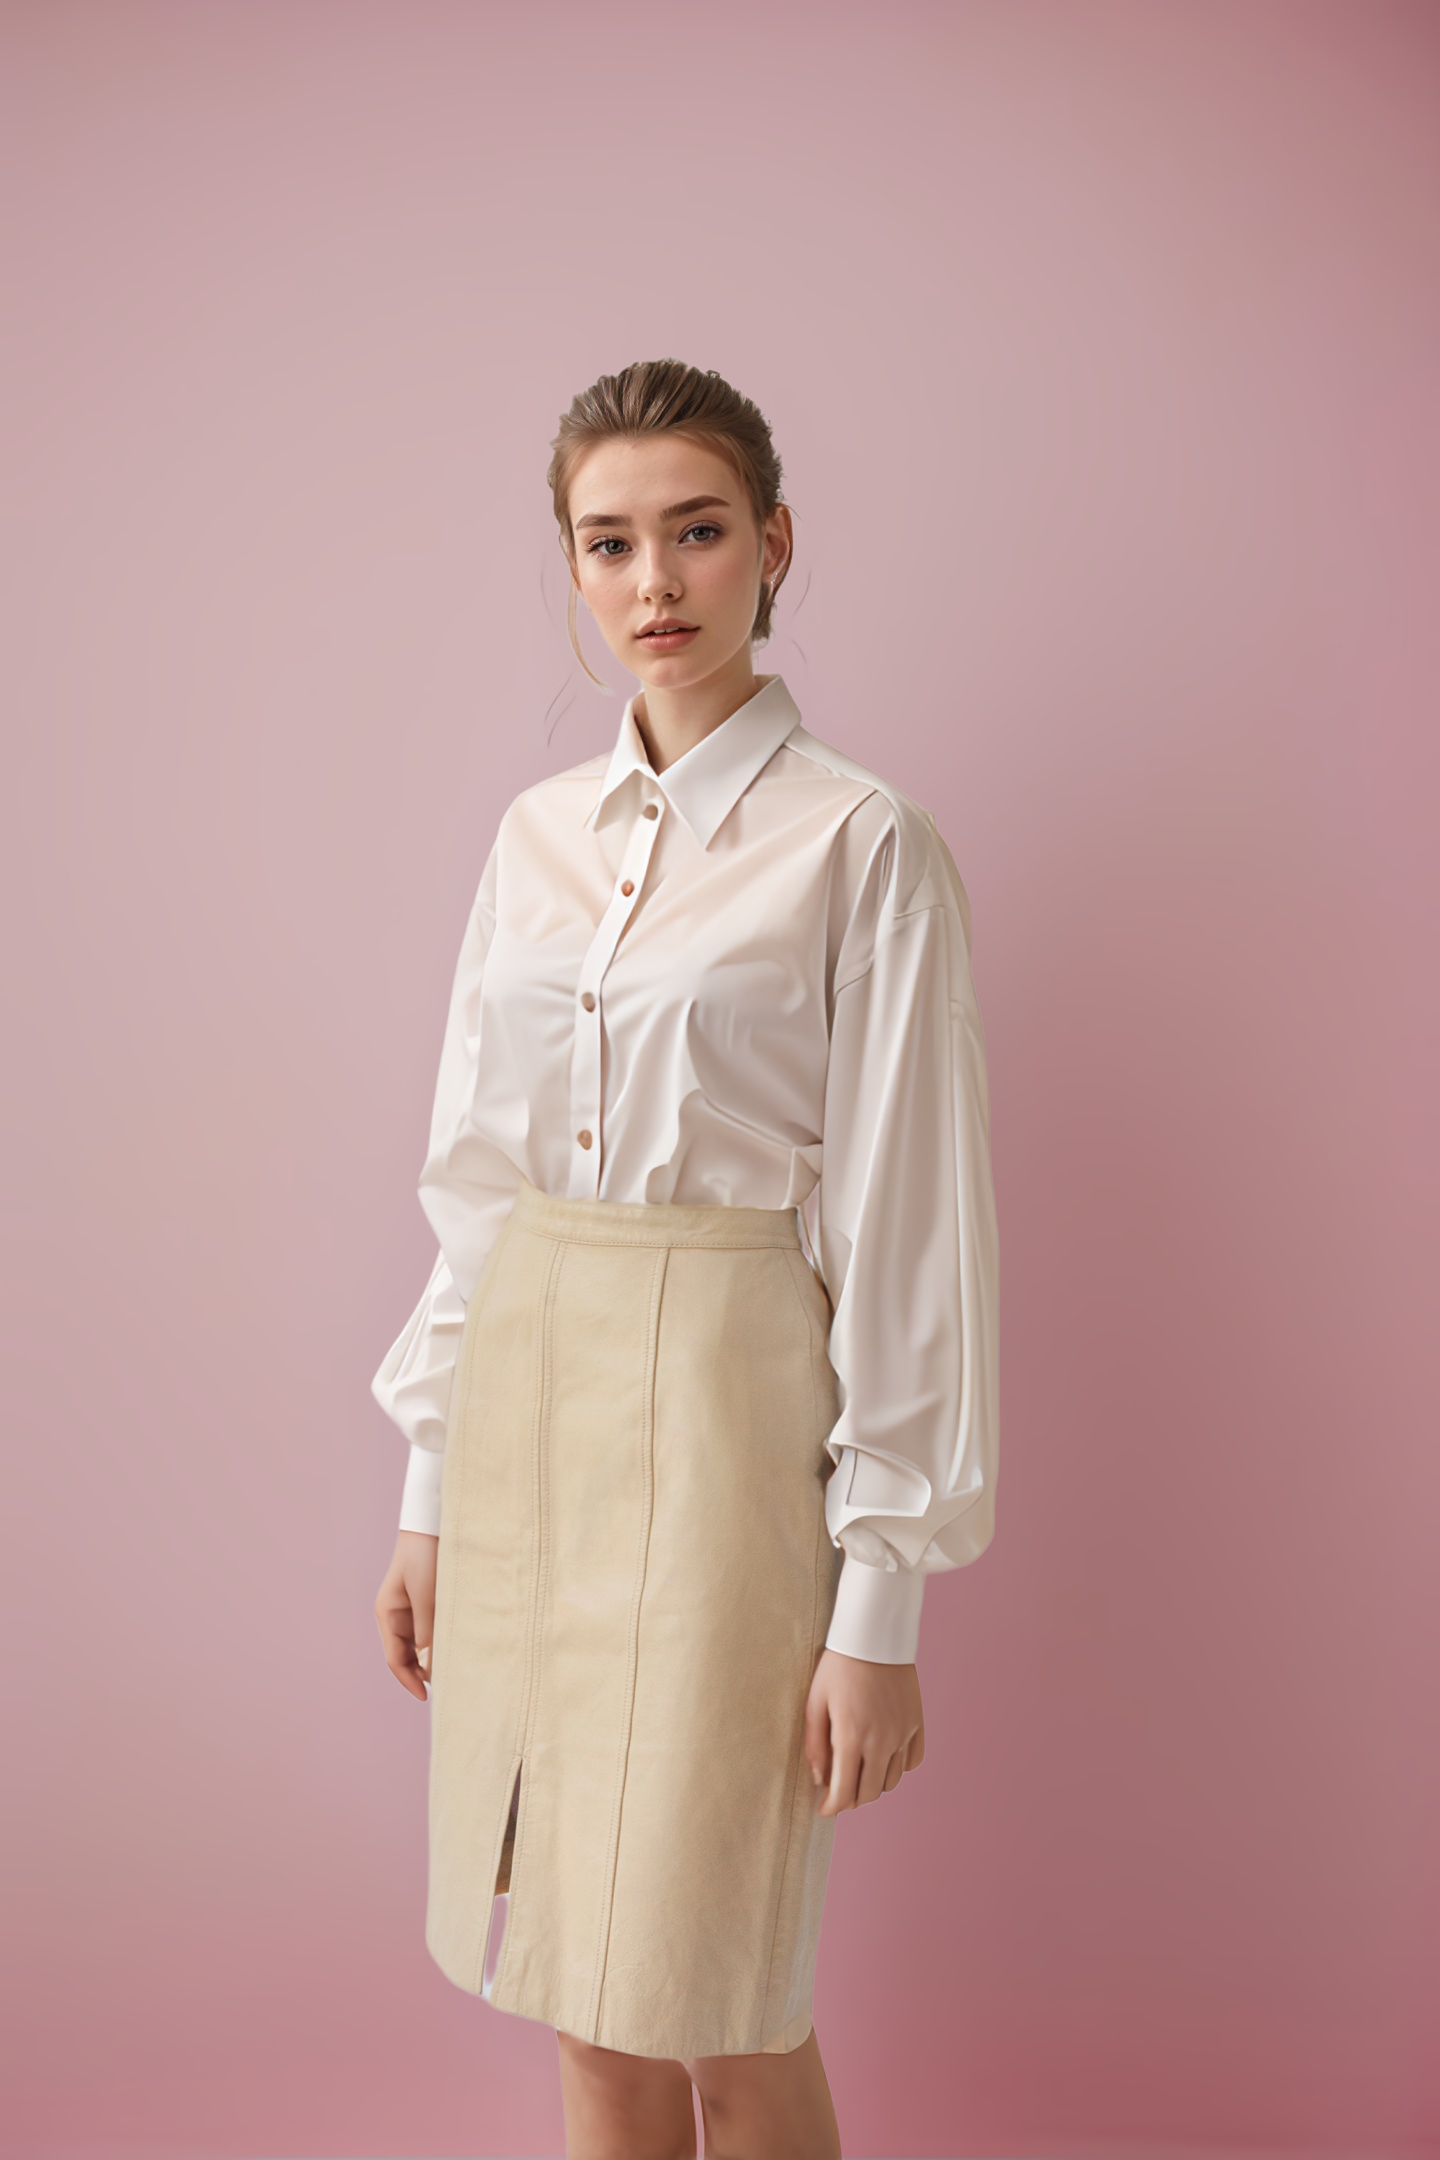
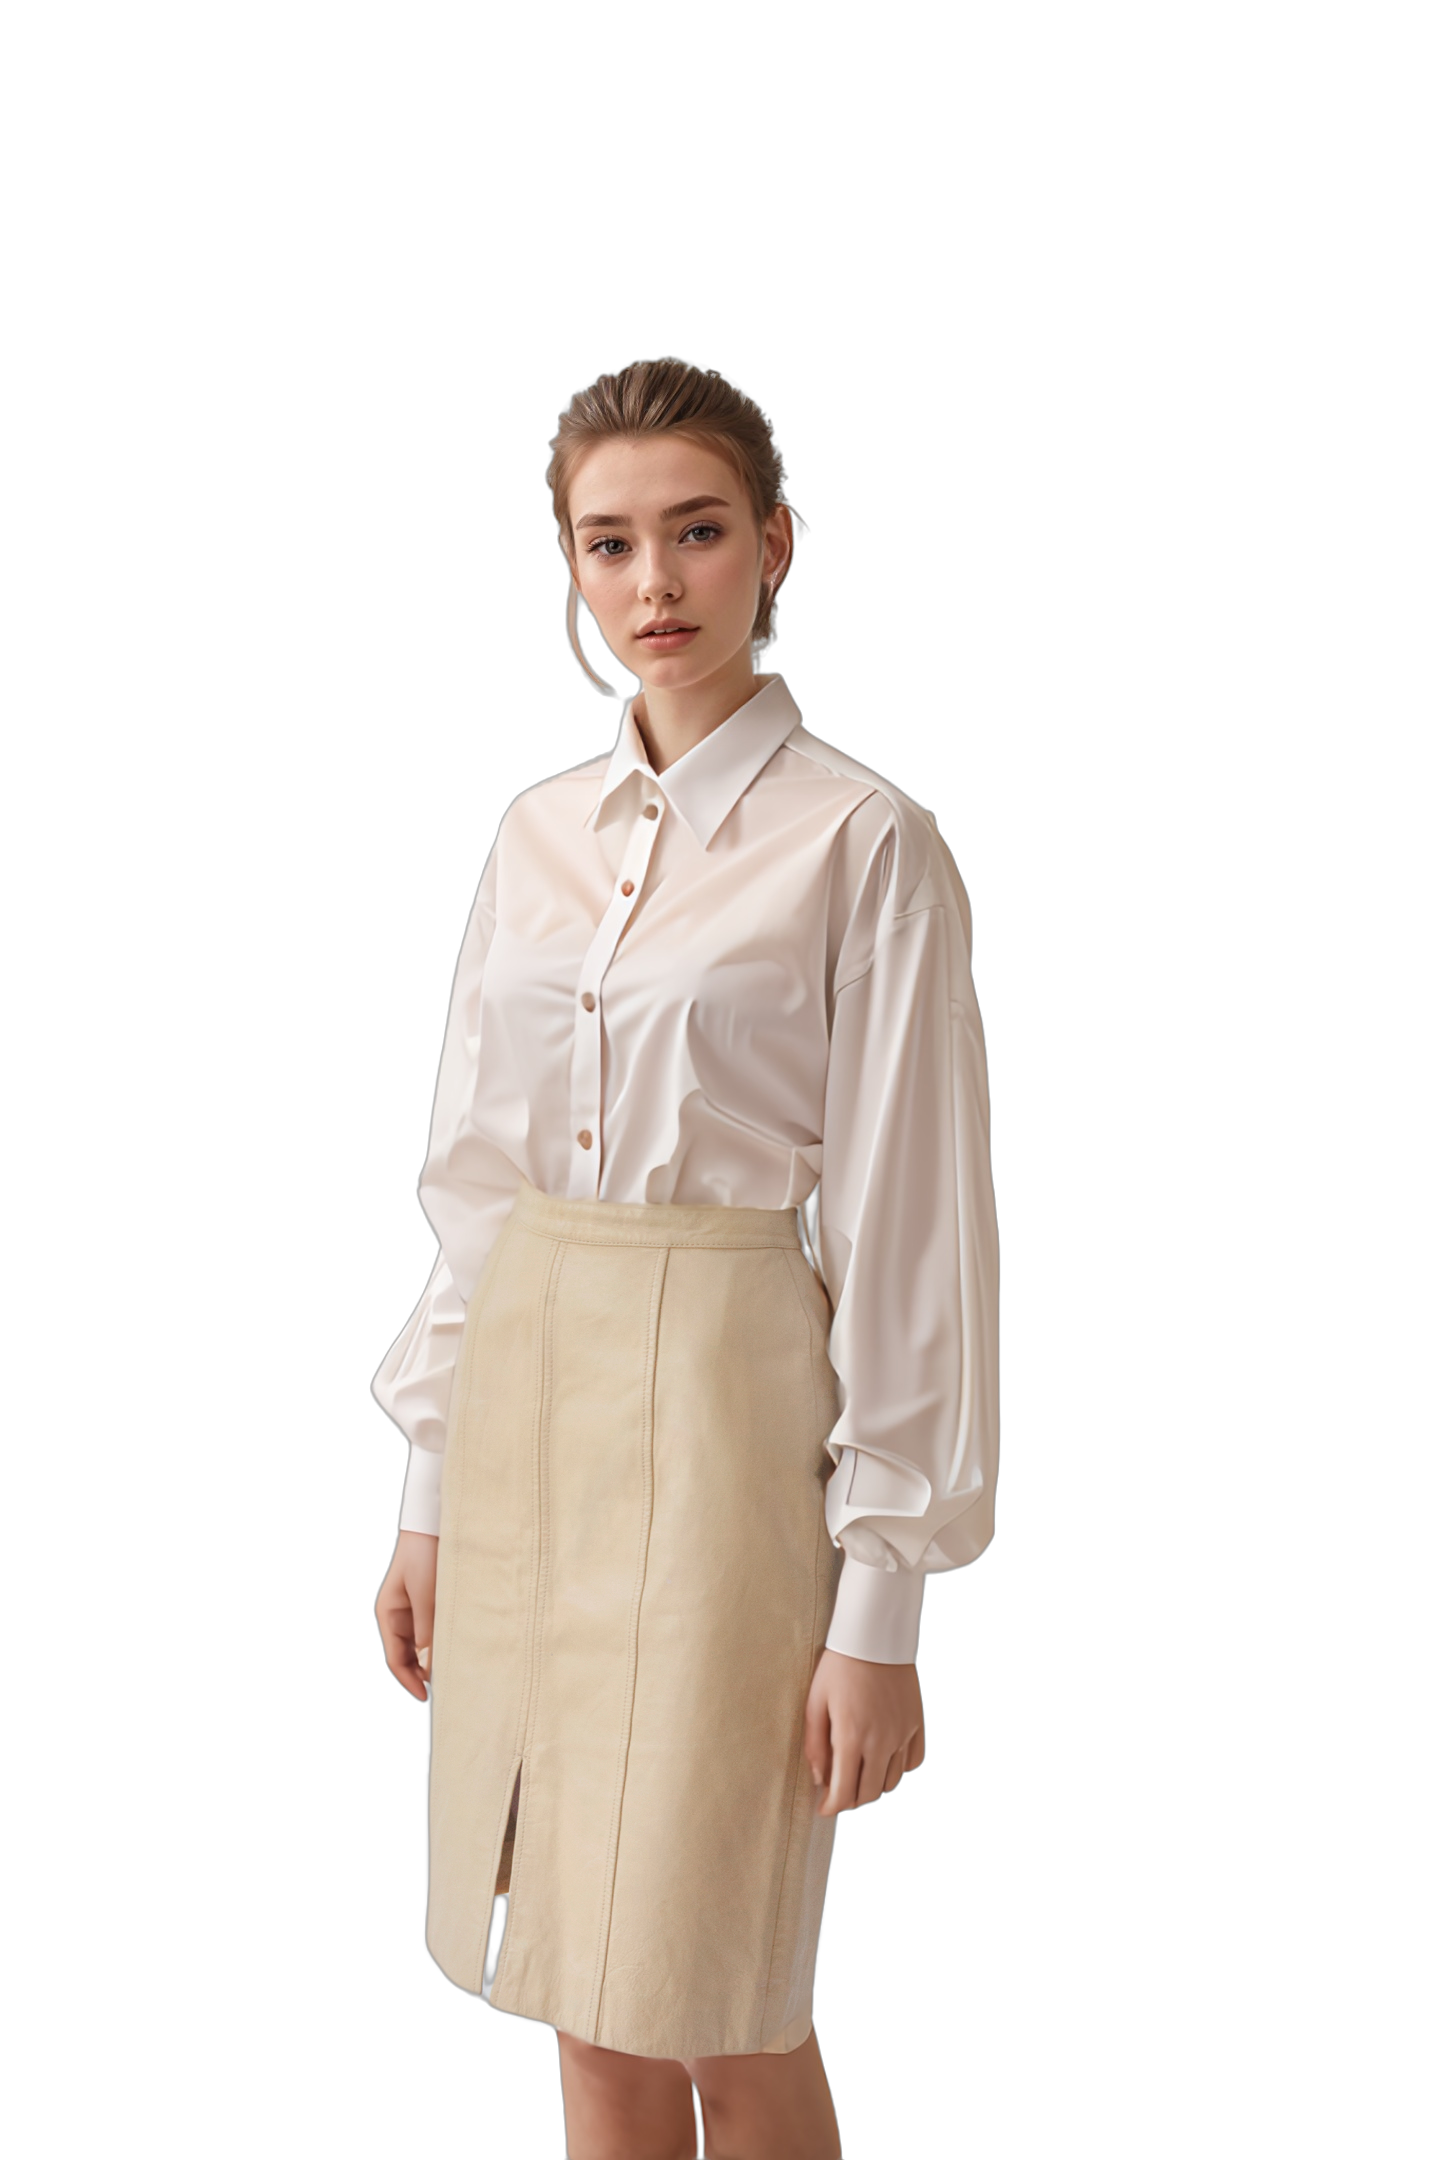
Congratulations! You have successfully generated AI fashion models with a different scene but keeping the skirt the same using the X-Design AI Fashion Model API.
Conclusion
In this tutorial, you have learned how to create an asynchronous task to generate AI fashion models with customized mask and check the task status until the task is completed. You have also seen how to view the generated images with different scenes. In the next tutorial, you will learn how to customized generated model details using the X-Design AI Fashion Model API.